Install Whisper.cpp on your Mac in 5mn and transcribe all your podcasts for free!
Audio transcription is getting better every month. Whisper.CPP makes it faster and easier.
A few months ago, I wrote an article about podcast transcription with Whisper (from OpenAI):
“Transcribe your podcast for free using only a laptop and Whisper”
Installing Whisper is pretty easy but having CUDA working with your GPU drivers can be tricky…
Thanks to Georgi Gerganov, things got a lot easier! Whisper was originally written in Python (which is used for many A.I. projects), Georgi wrote it in C++. And he called it… Whisper.CPP.
His C++ version is very interesting:
- it runs faster
- it has no dependency
- it is supported on almost all platforms (macOS, iOS, Android, Linux, FreeBSD, WebAssembly, Windows, Raspberry Pi)
Note that it currently does not work on GPU yet (CPU only) but is optimized for Apple silicon.
Benchmark
I ran some tests to see how fast Whisper.CPP runs compared to the Python version on CPU (Intel Core i7-13700KF 3.4 GHz) and the Python version on GPU (12GB Dual GeForce RTX 3060).
- “10×” means that it takes 1mn to transcribe a 10mn audio file.
- All files were converted to 16KHz WAV format before starting transcribing.
- The time spent for loading the models was not excluded.
- The Python version uses the “BeamSearch” decoder (default parameter), while Whisper.cpp uses the “Greedy” decoder.

We can see some differences depending on the model we use:
- Whisper.CPP is always much faster than Whisper on CPU, over 6 times faster for the tiny model up to over 7 times faster for the large one.
- Whisper.CPP is faster than Whisper on GPU for the tiny (1.8× faster) and base models (1.3× faster).
It runs slightly slower than Whisper on GPU for the small, medium and large models (1.3× slower).
So if you don't have a GPU (or if you can't make CUDA work), it's a no-brainer: use Whisper.CPP!
If you have a GPU, you should probably use Whisper, unless you are using the tiny or base model (which I do not recommend as they give very inaccurate results).
Installation on macOS
Installing Whisper.cpp is very easy and you should be able to make it work by reading the instructions on whisper.cpp's GitHub page.
Whisper.CPP is provided with its source code only, so you have to compile it. Since it has no dependency (no extra library is required), this step is very easy to perform, all you have to do is to type make in a Terminal window.
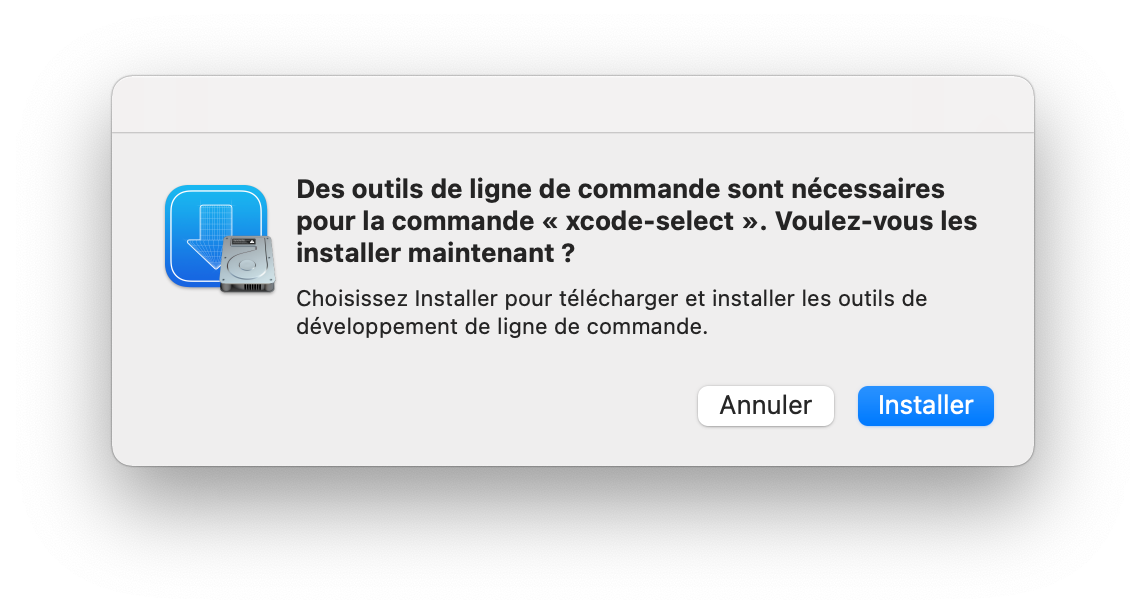
But before that, make sure that you have the tools you need, otherwise macOS will probably raise an error and kindly suggest that you install XCode Command Line Tools. If you don't see any error you can skip the next step!
xcode-select: note: no developer tools were found at '/Applications/Xcode.app', requesting install.
Choose an option in the dialog to download the command line developer tools.

Bill of materials
There are 4 programs you probably need in order to use Whisper.CPP and have it up and running on your Mac:
- XCode or XCode Command Line Tools: XCode is the official development tool provided by Apple.
You can either:- Download and install XCode from the Apple app store.
XCode is huge (7.8GB) so depending on your Internet connection, this can take a while and you don't need the whole package if you just plan to usemake. - Install XCode Command Line Tools (~130MB “only”) when macOS suggests that you do so, when running
makeorgit(just click on “Install”) - Install XCode Command Line Tools by typing
xcode-select --installin a Terminal window
- Install Homebrew first: It will ask you to install XCode Command Line Tools
- Download and install XCode from the Apple app store.
- ffmpeg (optional): ffmpeg is a power tool that can convert any video/audio file to any video/audio format. This is not mandatory but highly recommended. I used it to convert my audio files to 16KHz wav format.
- Homebrew (optional): Homebrew is a Package Manager that I recommend in order to install ffmeg. Only if you want ffmpeg.
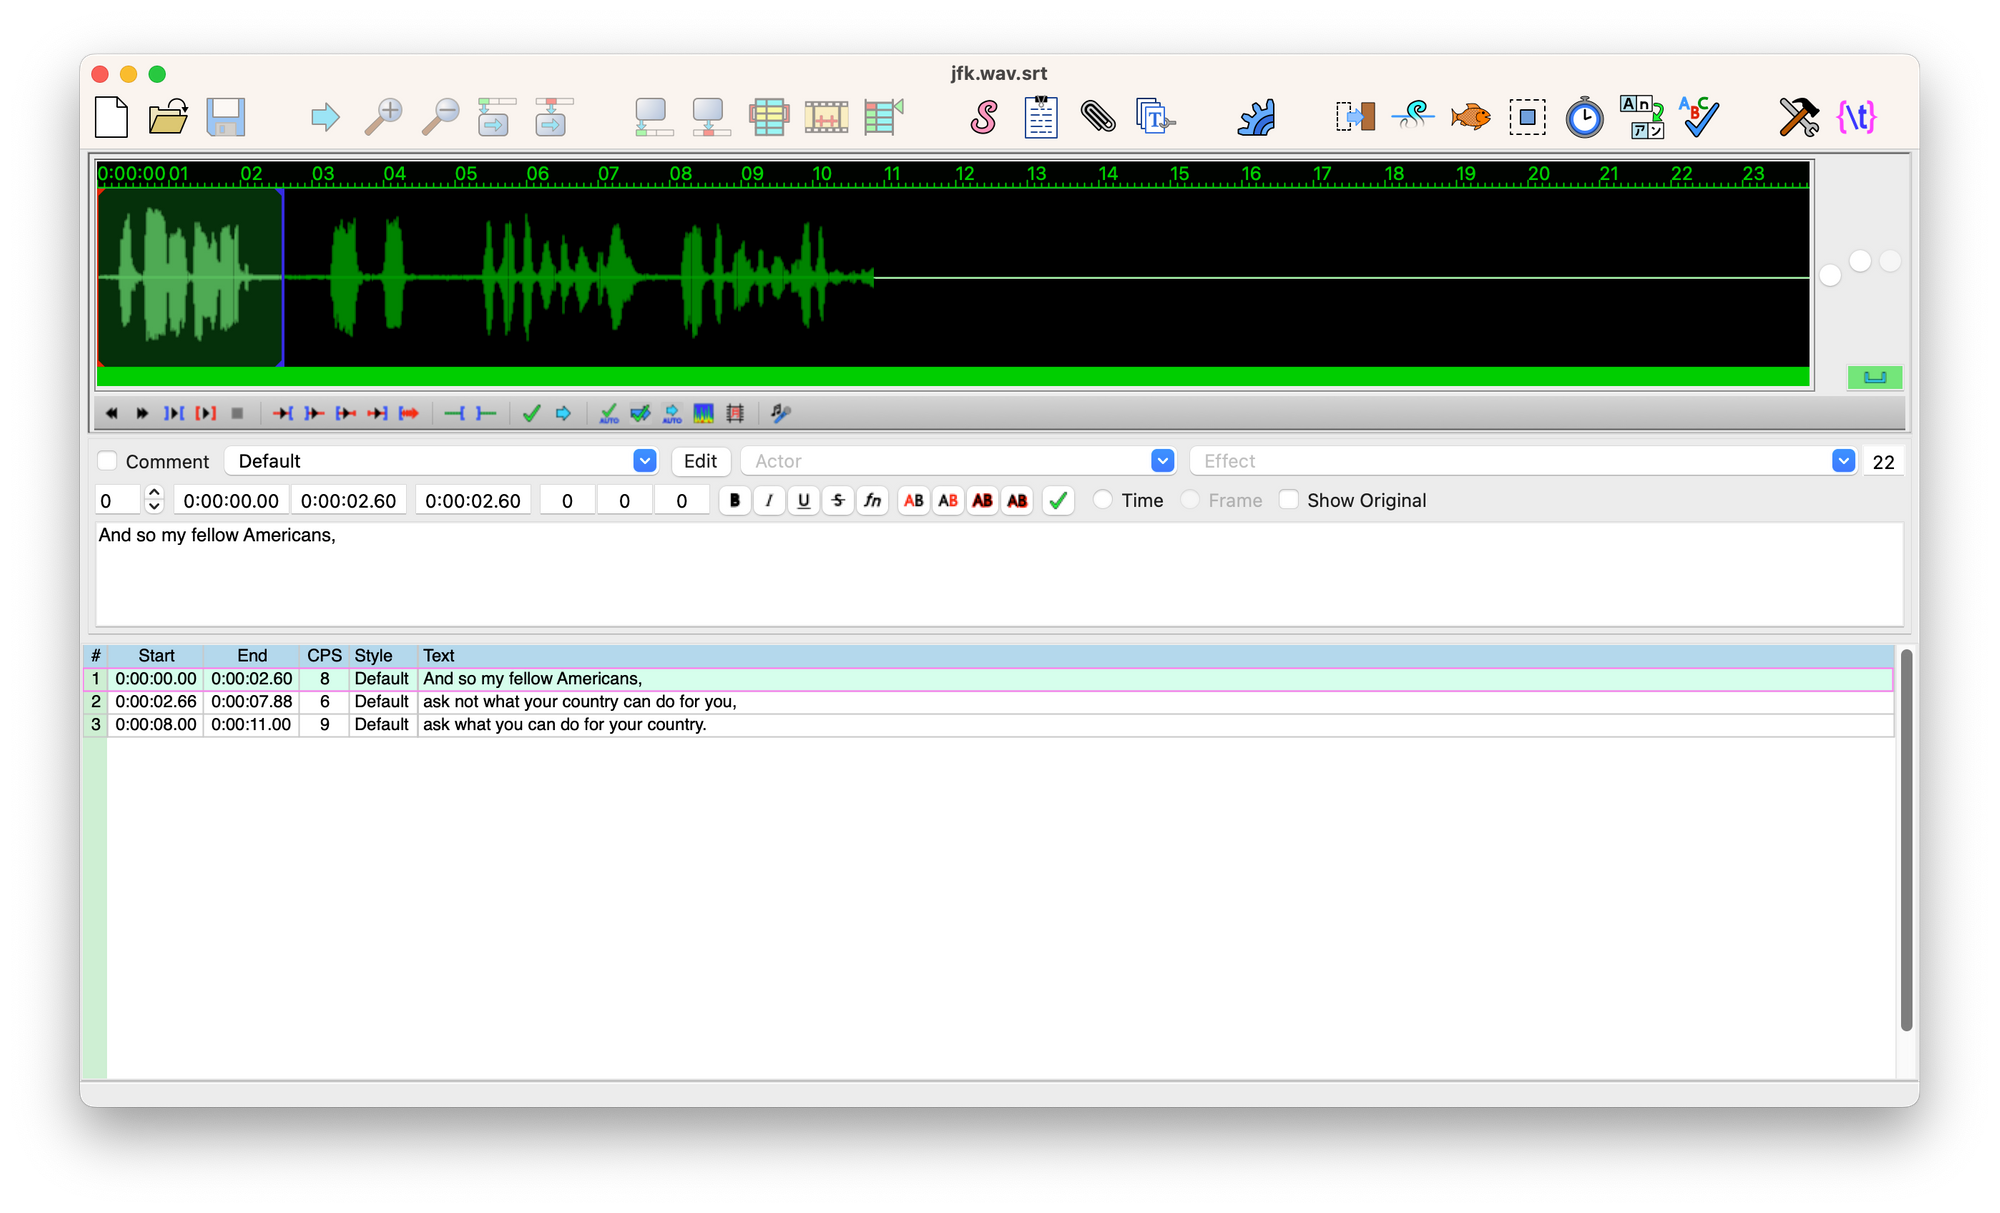
- Aegisub (optional): Aegisub is a program that can be used to correct SRT transcripts.
Installing Whisper.CPP
- Open a Terminal window (press ⌘+[SPACE], then type terminal then press [ENTER])
- Type:
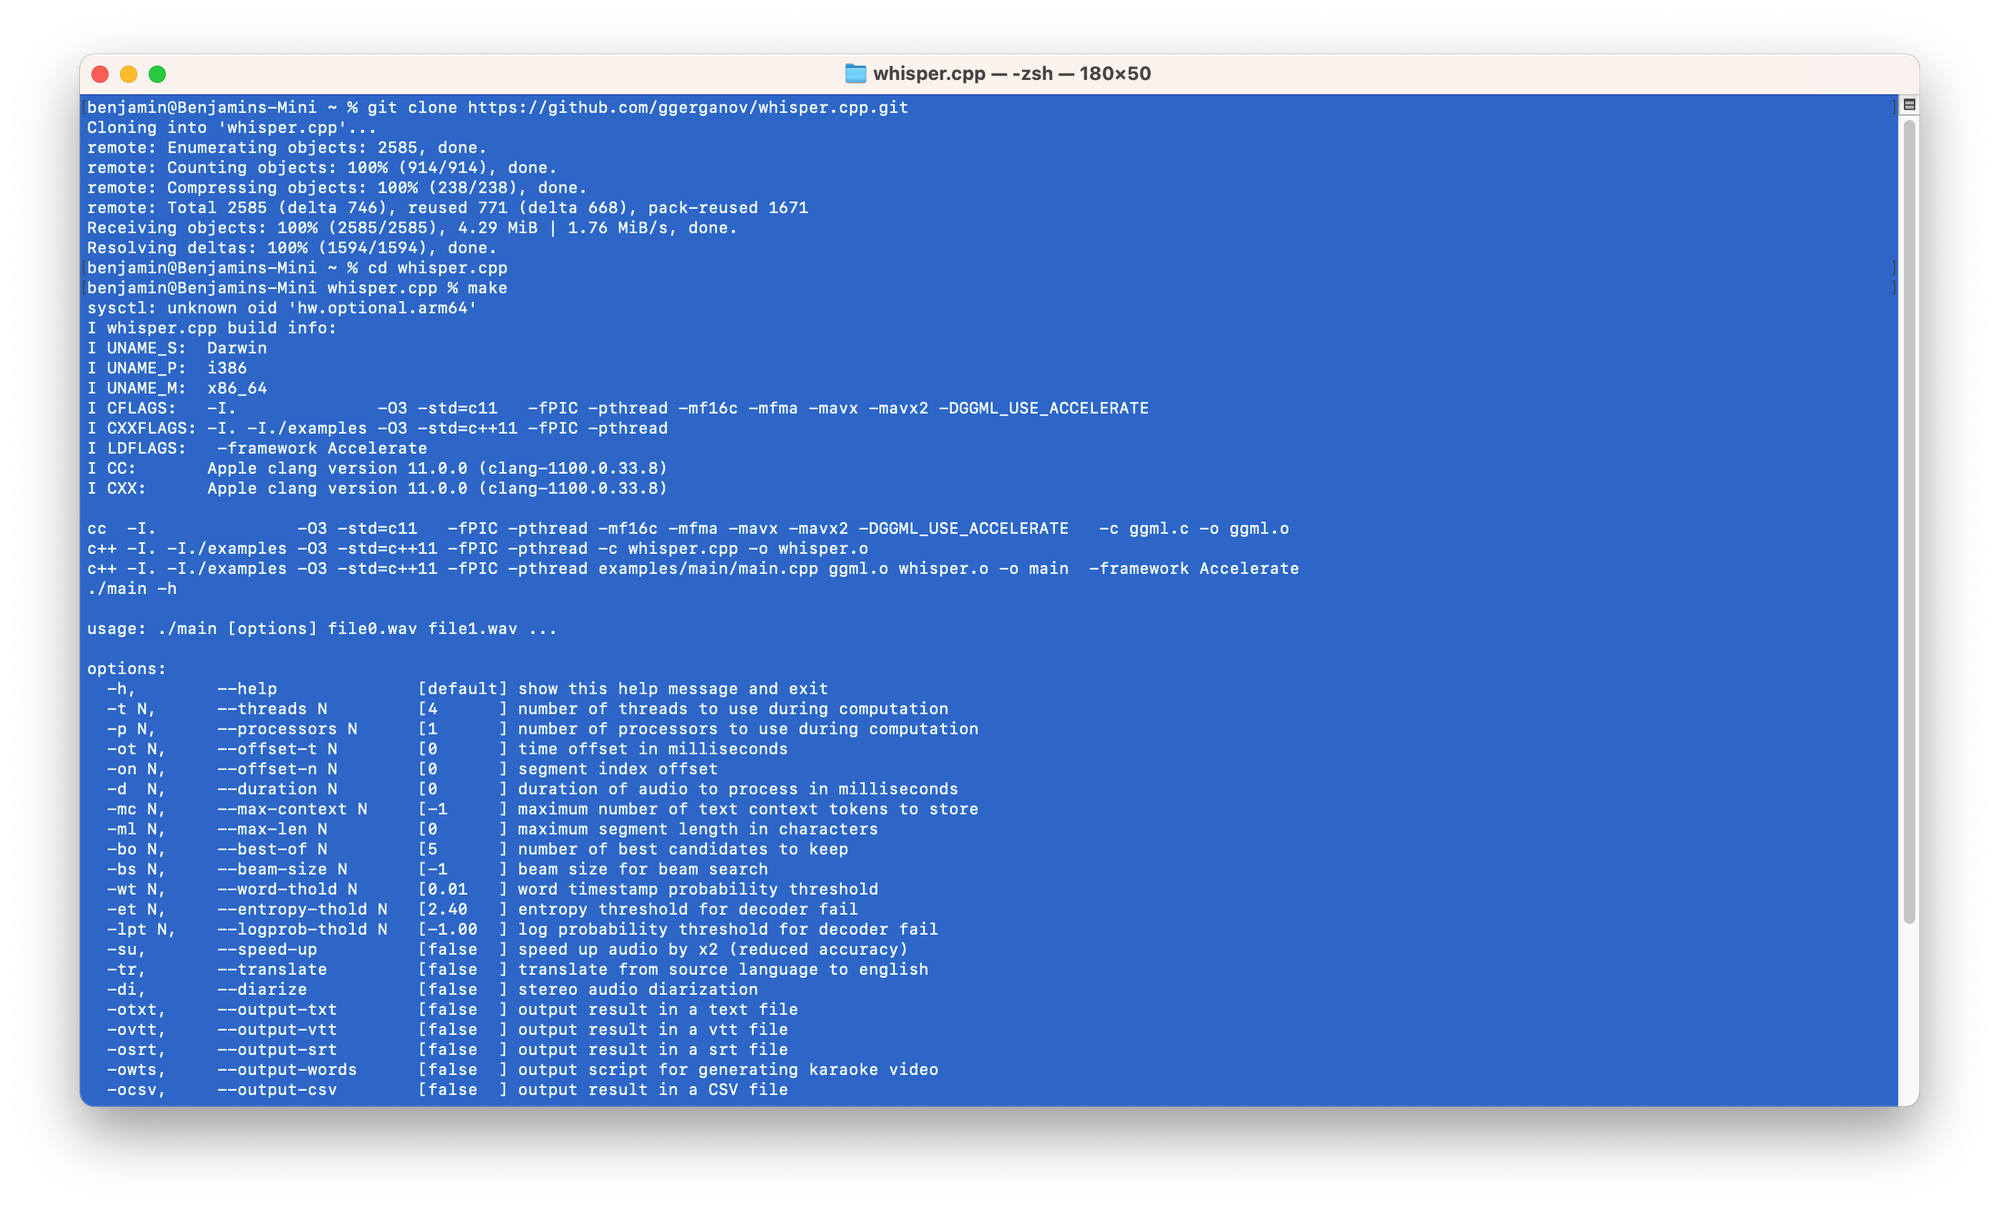
git clone https://github.com/ggerganov/whisper.cpp.git
This will download Whisper.CPP source code.
You can also download the zip package and unzip it if you don't like git. - Type
cd whisper.cpp - Type
make - Whisper.CPP is now compiled on your laptop. (But you still need to download some trained model to make is work.)
- Type
cd modelsin order to go to the model directory. - Type:
bash ./download-ggml-model.sh small
(this will download the small model - which is the one I recommend - but you can download another one if you want to). - That's it!
Try the example:
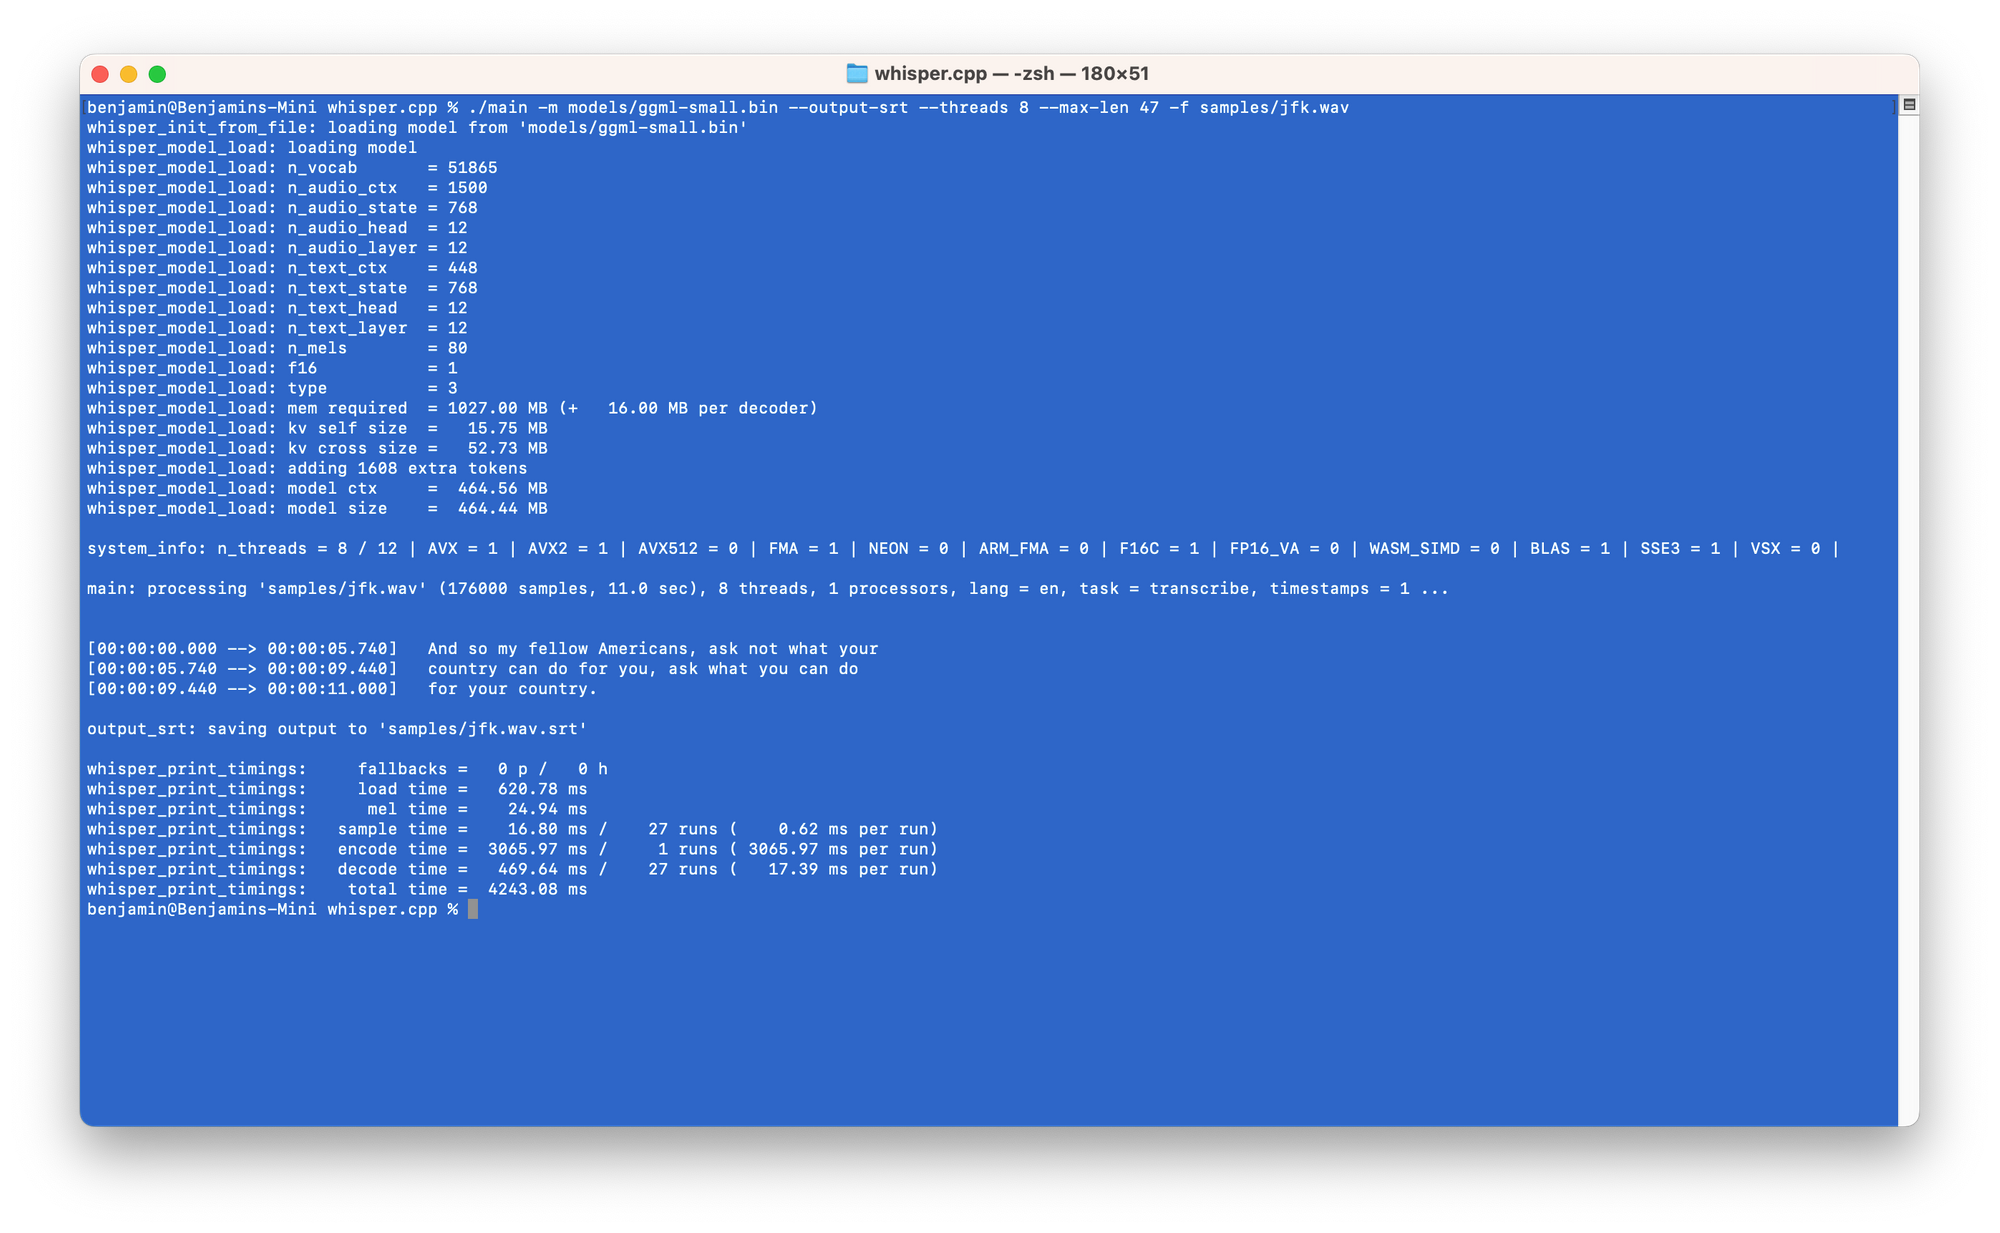
./main -m models/ggml-small.bin -f samples/jfk.wav
In order to get an SRT file, type:
./main -m models/ggml-small.bin --output-srt --max-len 47 -f samples/jfk.wav
Now you can correct it with Aegisub.
Installing Homebrew and ffmpeg
- To install Homebrew, open a Terminal window and type:
/bin/bash -c "$(curl -fsSL https://raw.githubusercontent.com/Homebrew/install/HEAD/install.sh)"
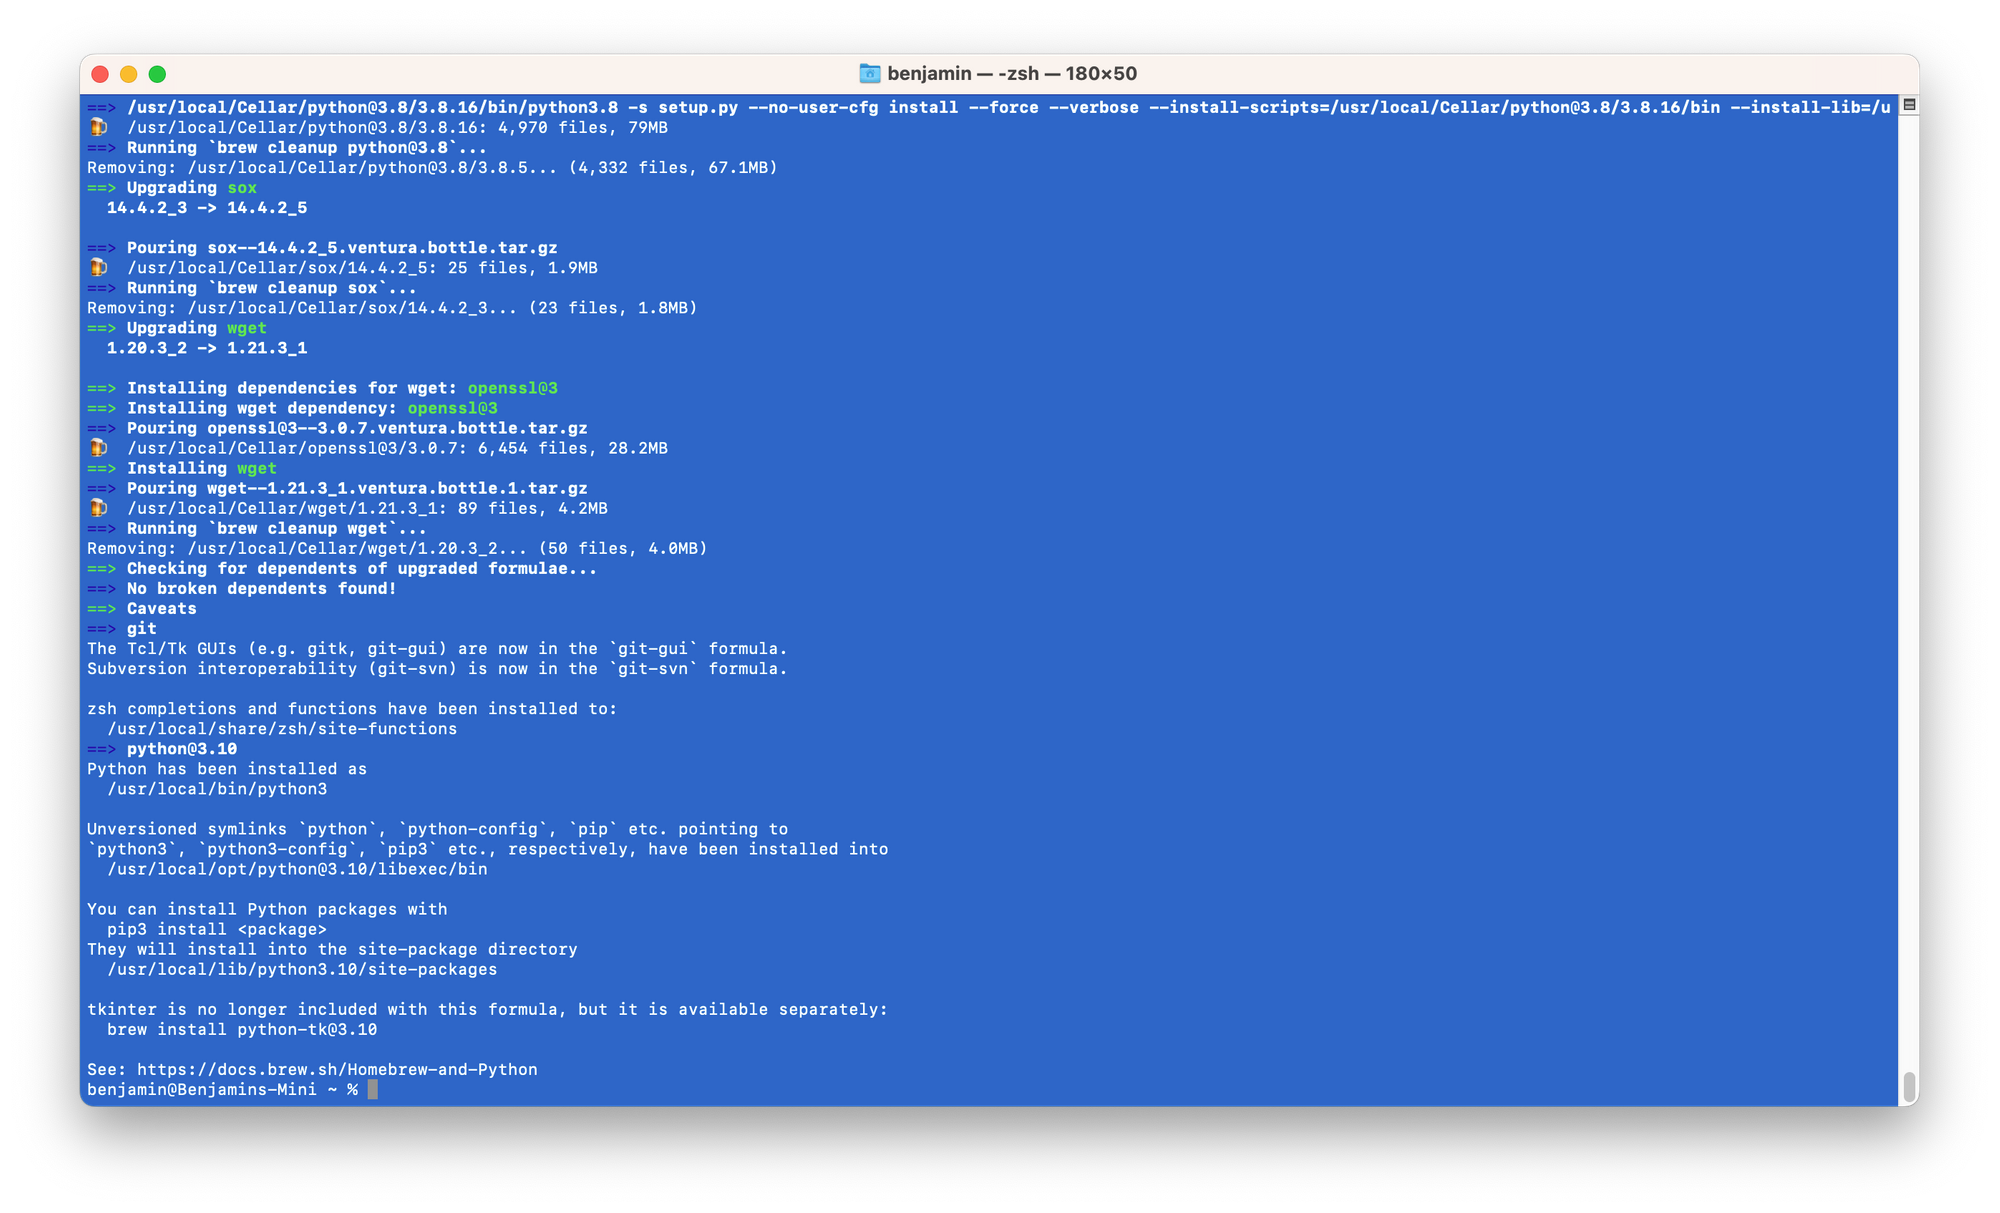
- Now to install ffmpeg, simply type:
brew install ffmpeg
Converting to 16KHz wav with ffmpeg
Whisper.CPP takes 16KHz wav files only.
You may use your DAW to generate that. Or use ffmpeg:
ffmpeg -i /path/to/input-file.mp3 -ar 16000 /path/to/output-file.wav
More about Whisper.CPP: Roadmap | F.A.Q. #126
Happy transcribing!